Set up the mobile app
Install Walletap on a phone or tablet, sign in with an emailed link, choose the templates it works with, and find your way around.
The mobile app runs your loyalty cards, tickets and memberships from a phone: scanning, adding members, campaigns and analytics. Setting it up takes a few minutes per phone.
Every planBefore you start#
- A Walletap account, or an invitation to one. Signing in with a new email address creates an account.
- An iPhone, iPad or Android phone or tablet with a camera, for scanning.
- If you were invited as a team member, accept the invitation first. See team members.
Install the app#
Search for Walletap in the store your phone uses, or open walletap.com/get on an iPhone, or an Android phone with Google Play, to go straight to the app's store listing.
- iPhone and iPad — the App Store.
- Android — Google Play.
- Huawei phones without Google services — AppGallery.
Sign in#
- Enter your email
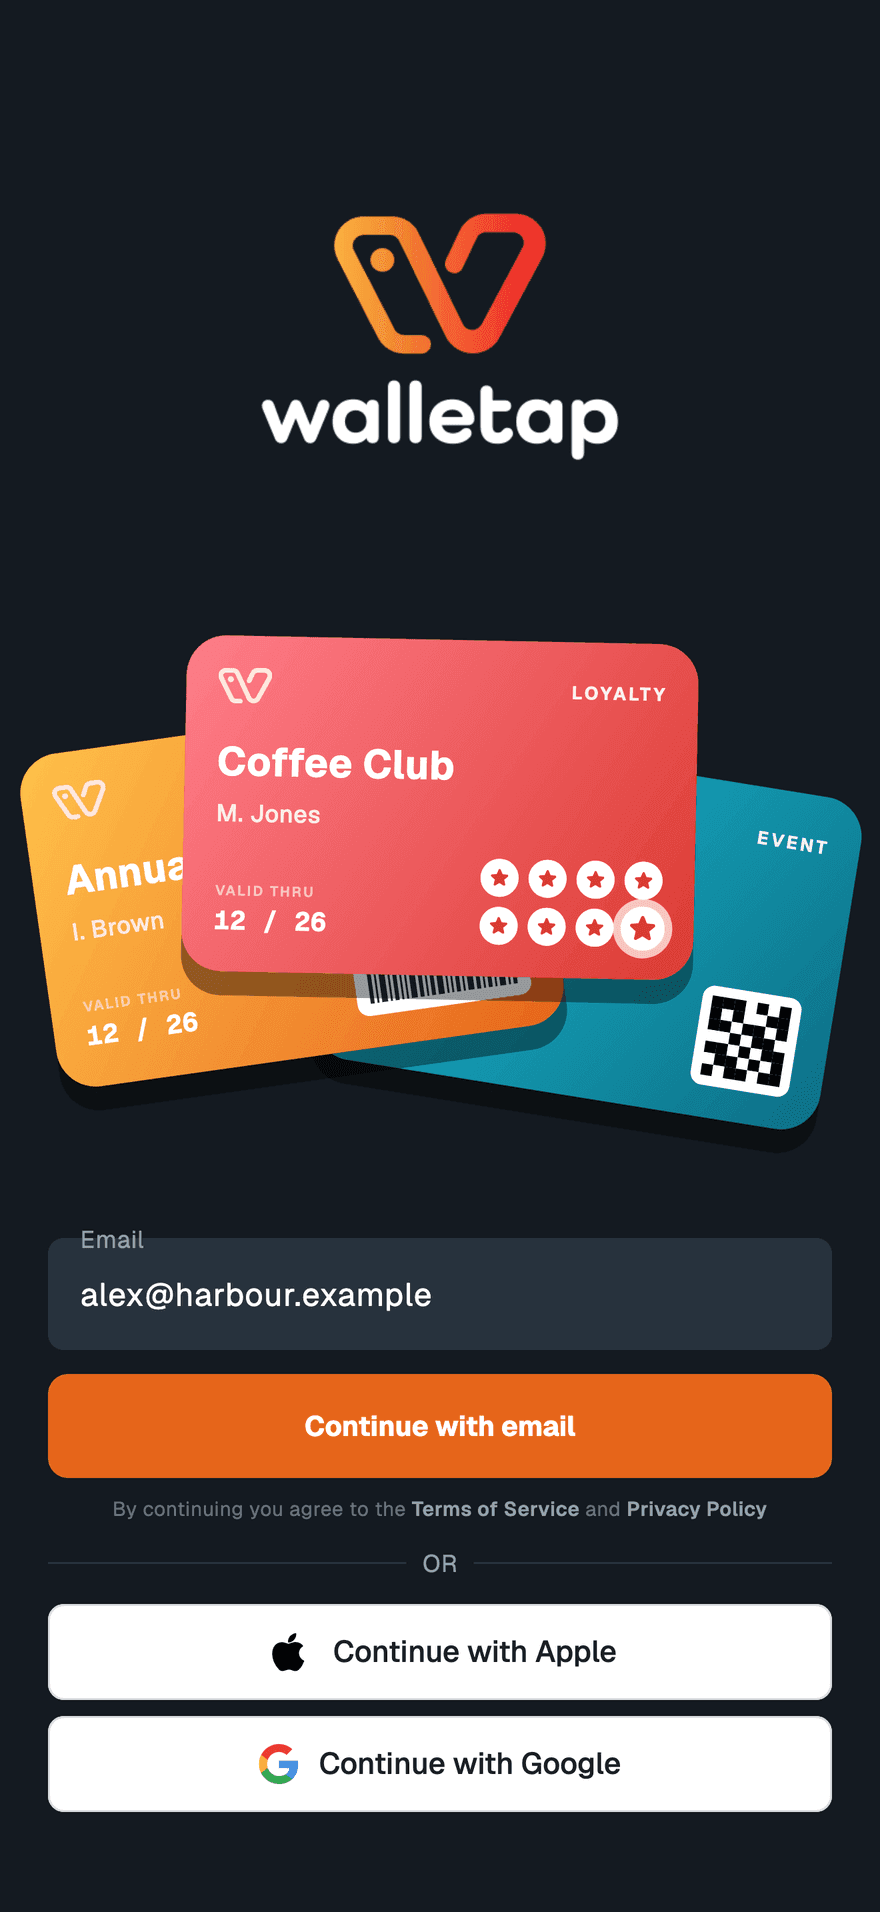
Open the app, type your email address and tap Continue with email.
- Open the link on this phone
The app shows Check your email. Open the email on the same phone and tap the sign-in link. It opens the app and signs you in. Open email jumps to your mail app.
- Fill in your business details (new accounts only)
A first sign-in with a new address creates the account, and the app asks for Business details: your name, business name, country, and optionally a tax number and phone. Tap Continue.
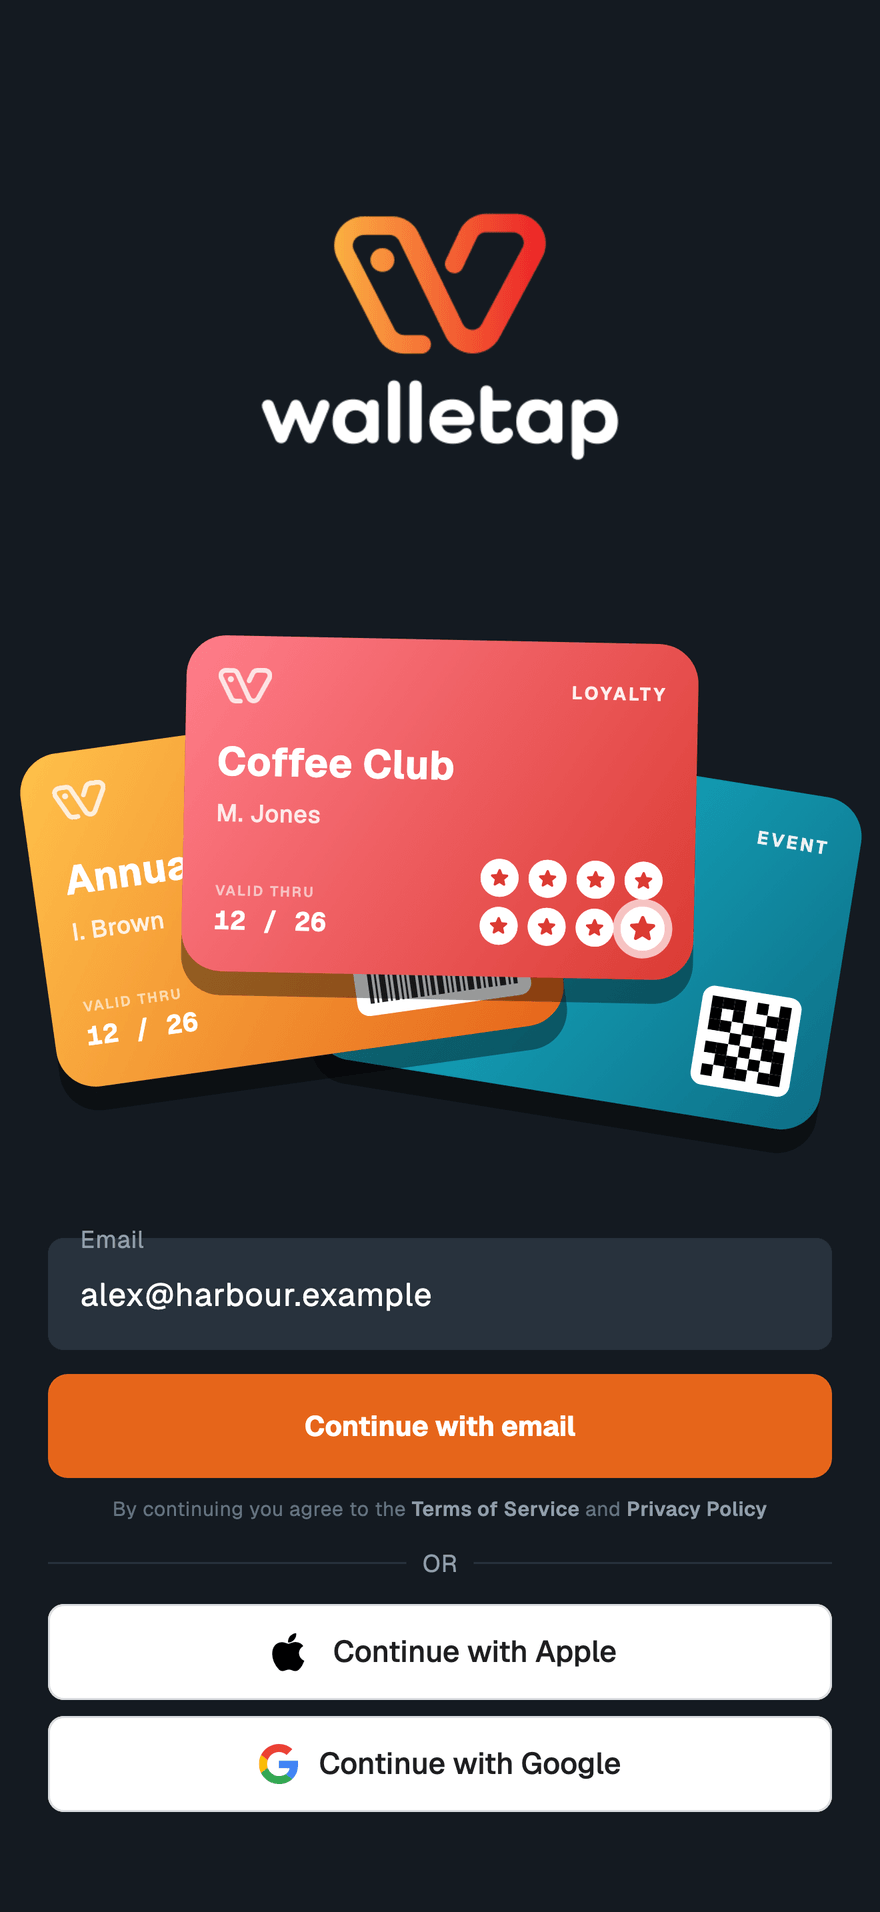
To sign in with Google instead, tap Continue with Google. On an iPhone or iPad you can also tap Continue with Apple. Like the emailed link, both create an account the first time.
On the AppGallery version, Use password instead signs in with an email and password.
Pick a template to start with#
After sign-in the app needs a template to work with:
- An account with no templates opens the designer to create your first loyalty card. See create a template. Skip for now goes straight to the app.
- An account with templates shows Choose a template. Tap one and tap Continue.
You can change the choice at any time, and add more templates beside it.
Choose the templates this phone works with#
A phone can work with several templates of the same type at once — two loyalty cards at Harbour Coffee, say, or every ticket type for Summer Jazz Night. Members, Add member, campaigns, analytics and the scanner then cover all of them.
- Open the template list
Go to SettingsActive template and tap the template row.
- Tap the templates you want
Each tap adds a template or removes it. At least one always stays selected.
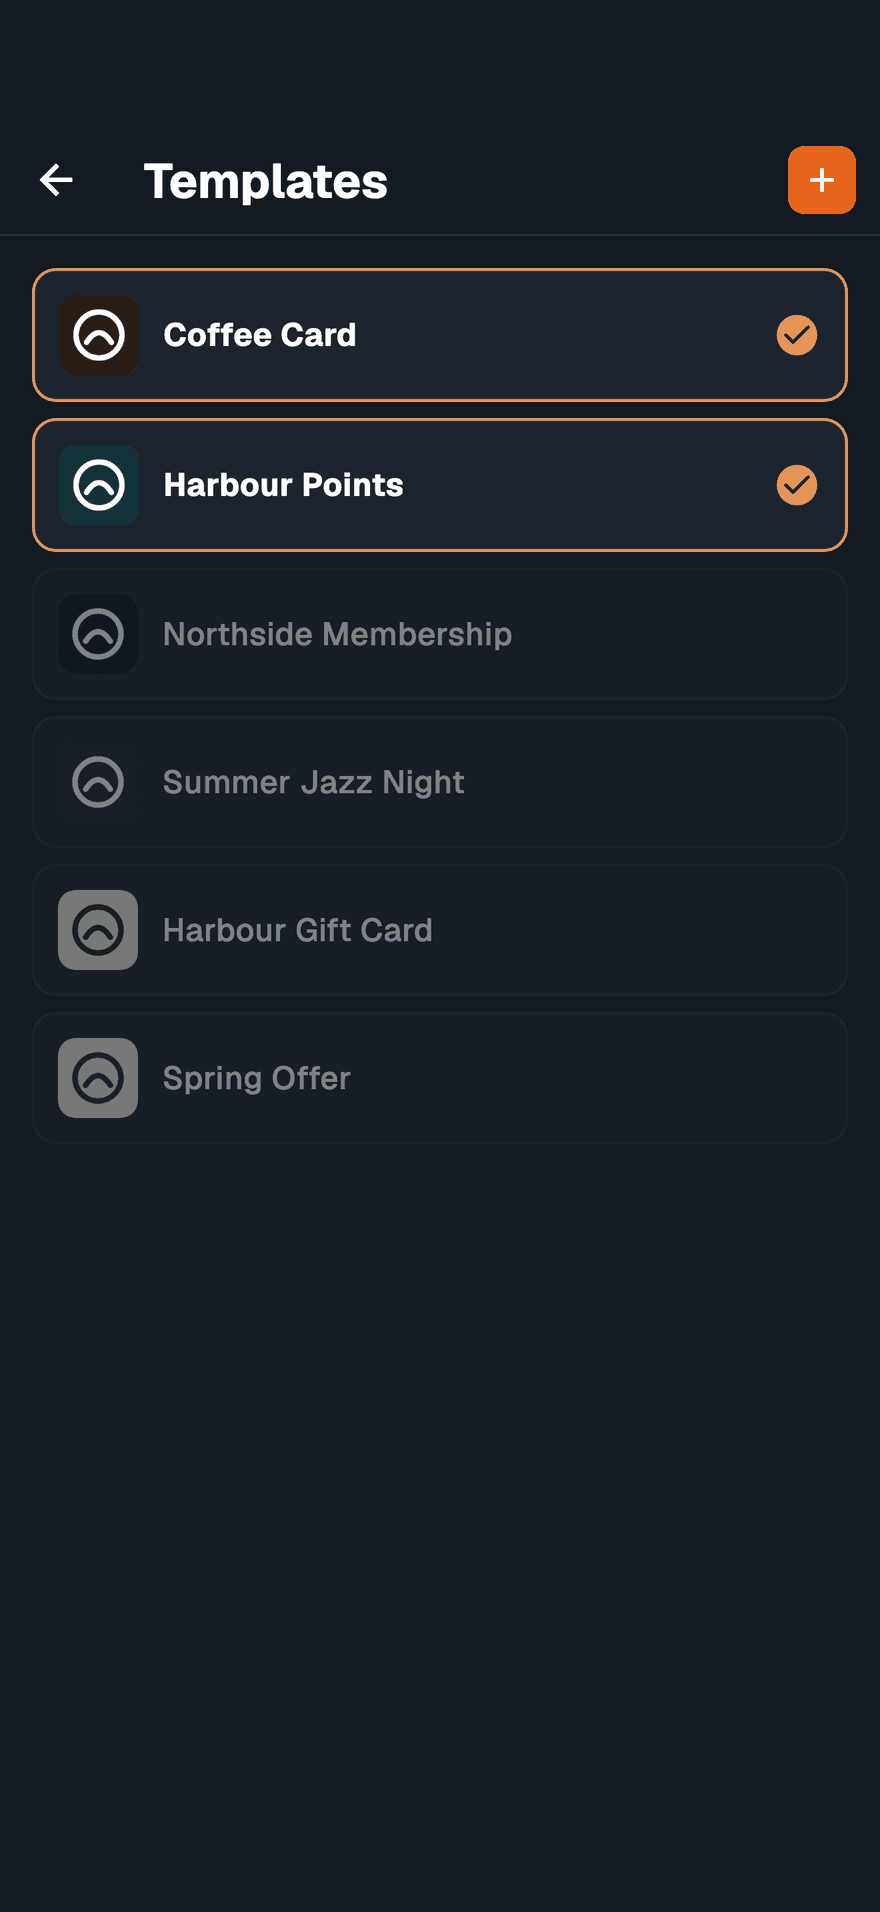
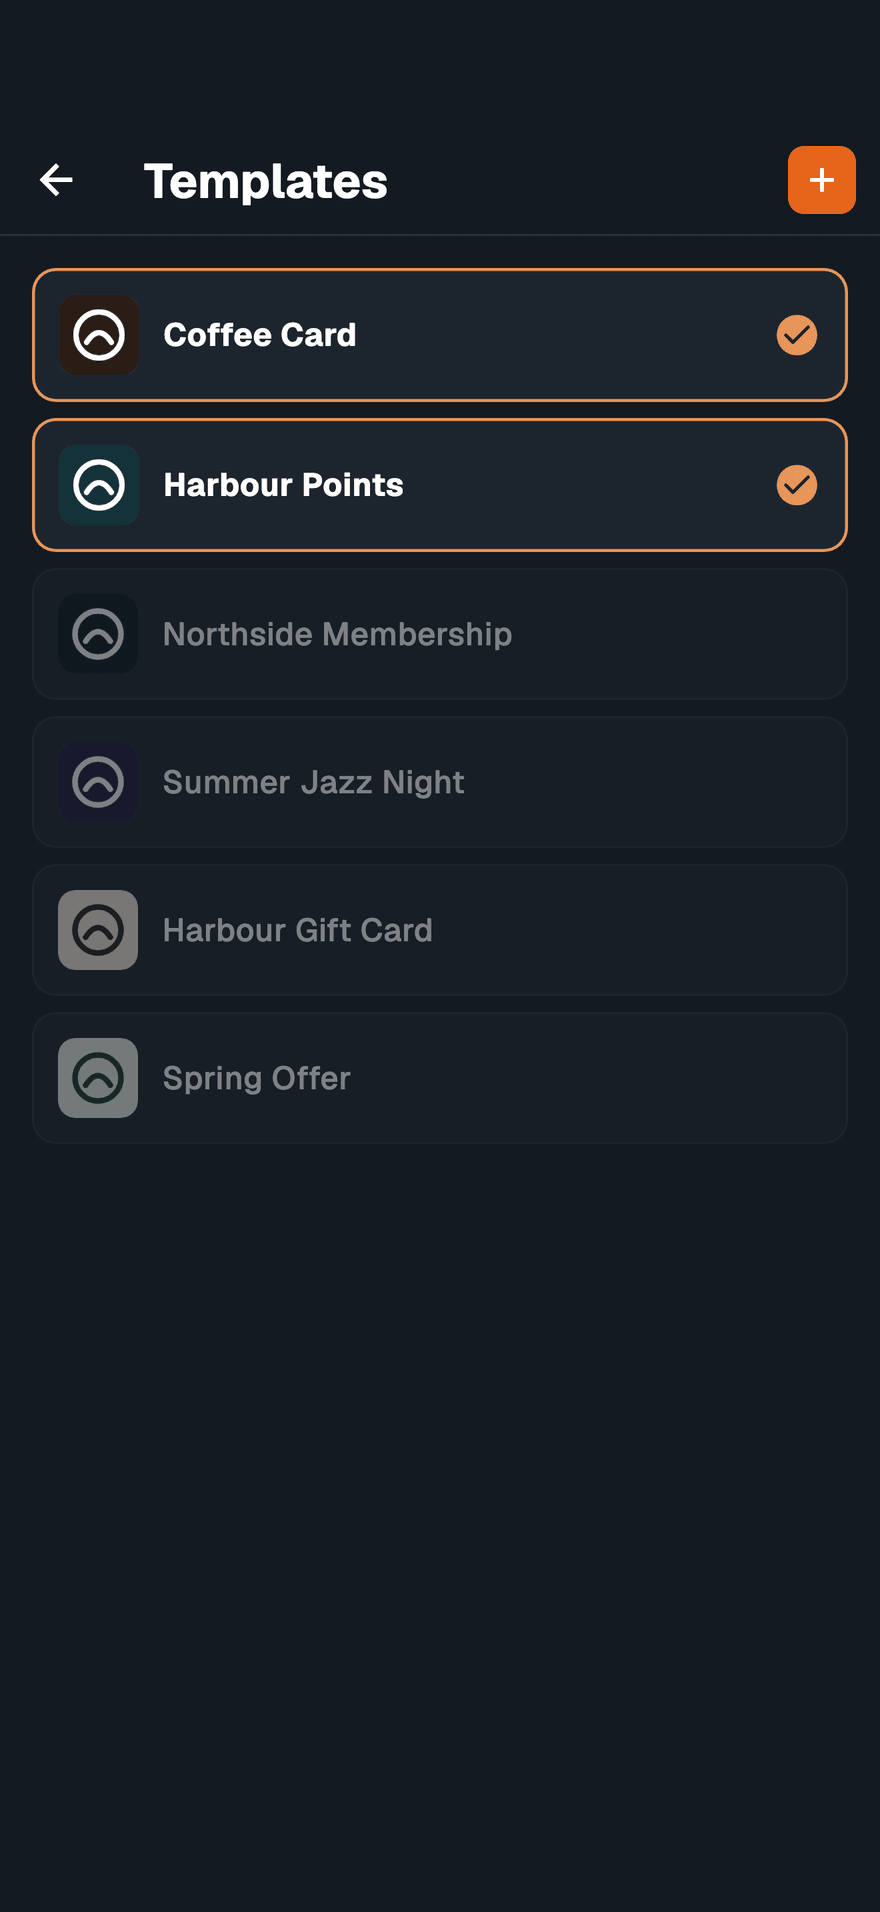
Templates of another type are dimmed. Tapping one starts a new selection with just that template, because each type has its own bottom bar. The first template you chose is the primary one, and its name leads the Active template row. The + at the top of the list designs a new loyalty card.
The choice belongs to this phone. Each phone at the counter keeps its own.
The bottom bar#
The app always opens on Analytics. What comes after it depends on the type of the active template:
| Template type | Bottom bar |
|---|---|
| Loyalty | Analytics, Members, Scan, History, Settings |
| Membership | Analytics, Members, Entrances, Doors, Settings |
| Event ticket, coupon, gift card | Analytics, Members, Scan, Entrances, Settings |
For event tickets, coupons and gift cards, the Scan button appears when the template's passes carry a barcode. A loyalty template always has it. A membership template scans from SettingsRedemption methodsScan passes.
- Analytics — how the card or membership is doing. See analytics.
- Members — everyone holding a pass of the active templates. Search members... at the top finds anyone among them as you type. Tap + to add a member, or tap a member for their passes, actions and activity. Beside a member's phone number, three buttons call them, text them or open a WhatsApp chat.
- History — the passes scanned on this phone. See activity.
- Entrances — every entry across the account, valid and refused.
- Doors — the door controllers at your premises. See door access.
On a tablet, the same destinations sit in a navigation rail on the left.
Settings#
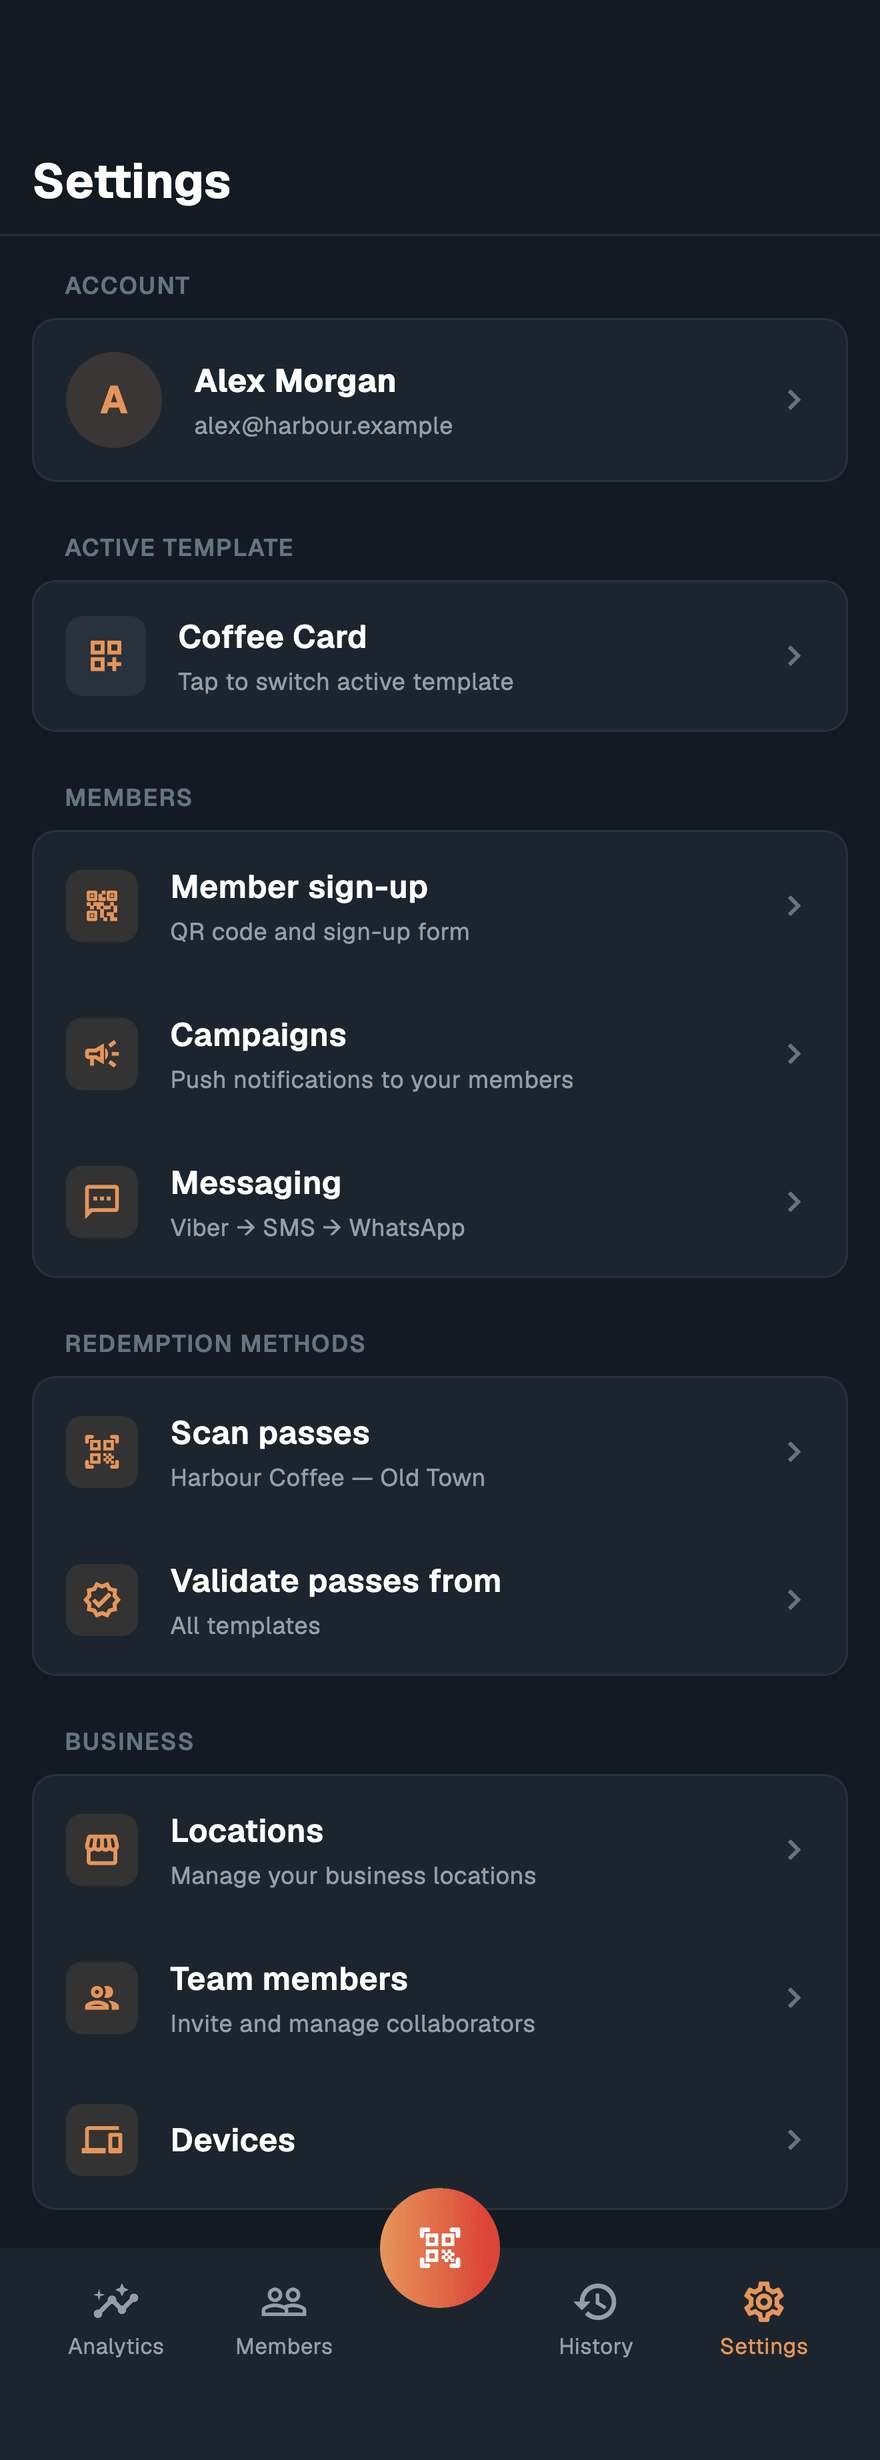
Settings is grouped by job, top to bottom:
| Section | What is there |
|---|---|
| Account | Your name and photo, sign out, delete account. If you belong to more than one account, the account you are working in and a switch to the others. |
| Active template | The templates this phone works with. For every type but loyalty, Entrances sets which templates' entries the Entrances tab lists. |
| Members | Member sign-up (the QR code and form), Campaigns, Messaging (the channels that deliver passes). |
| Redemption methods | Scan passes, Card Reader and Validate passes from. See scanning. Shown when the template's passes carry a barcode, or the plan includes NFC passes. |
| Business | Locations, Companies (the owner, when the plan includes several companies), Team members, Employees (every type but loyalty), Devices. |
| Billing | Plan & billing. See plans and billing. |
| General | Language. |
The installed version is at the bottom of Settings. Quote it when you contact support.
Change the language#
The app follows your phone's language. To choose another:
- Open Language
Go to SettingsGeneralLanguage.
- Pick a language
Tap one of the 46 languages, each listed in its own name. The app switches at once. Tap System to follow the phone again.
The app's language changes the screens only. The language of a member's pass is chosen when the pass is issued.
If something goes wrong#
The sign-in email doesn't arrive. Check the spam folder, and that the address is spelled right. Send a new link becomes available a minute after the last one.
The link opened in a browser. It was opened somewhere other than the phone with the app, which signs that browser in instead. Tap Send a new link in the app and open the new email on the phone.
"This device isn’t activated" or "This device was signed out". The account has no free device for this phone, or the owner signed it out. See devices.
"Verify your email". An account that signed up with a password has a week to confirm its address. Tap the link in the verification email, then I've verified — continue.