Stamp and redeem at the counter
Add stamps or points with the Walletap mobile app, hand over a reward, and correct a count that went wrong.
Everything a customer earns or spends at the counter goes through the scanner in the Walletap mobile app. Each change is saved only when a member of staff confirms it, and the card in the customer's wallet updates a few moments later.
Every planBefore you start#
- The Walletap app is installed on the phone or tablet at the counter and signed in to your account. See the mobile app.
- The device is activated for your account. See staff devices.
- Your loyalty card has a barcode or QR code switched on. See barcodes and NFC.
- The app is open on the loyalty card's template, for example Coffee Card.
Add a stamp#
- Open the scanner
Tap the scan button in the middle of the bottom bar. On a tablet, tap Scan at the top of the side menu. If the app asks, choose the card under Select Template to Scan:.
- Scan the customer's pass
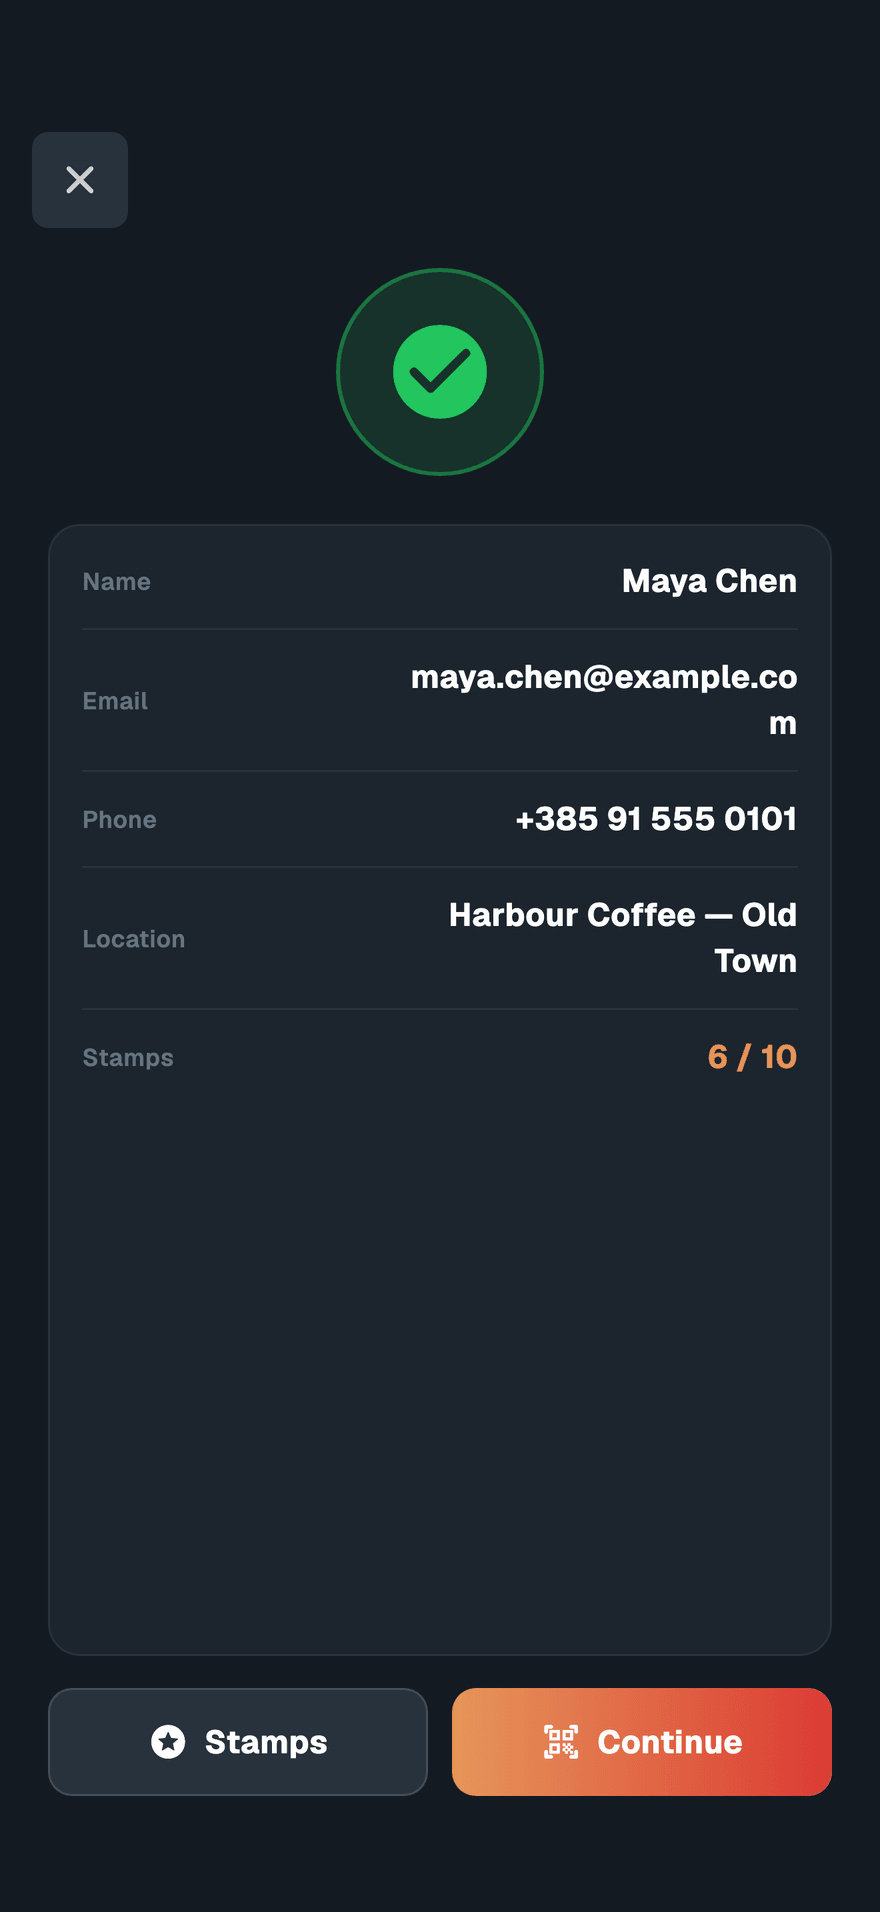
Hold the camera over the code on the customer's pass. The result screen shows whose card it is and where it stands, for example Stamps
6 / 10.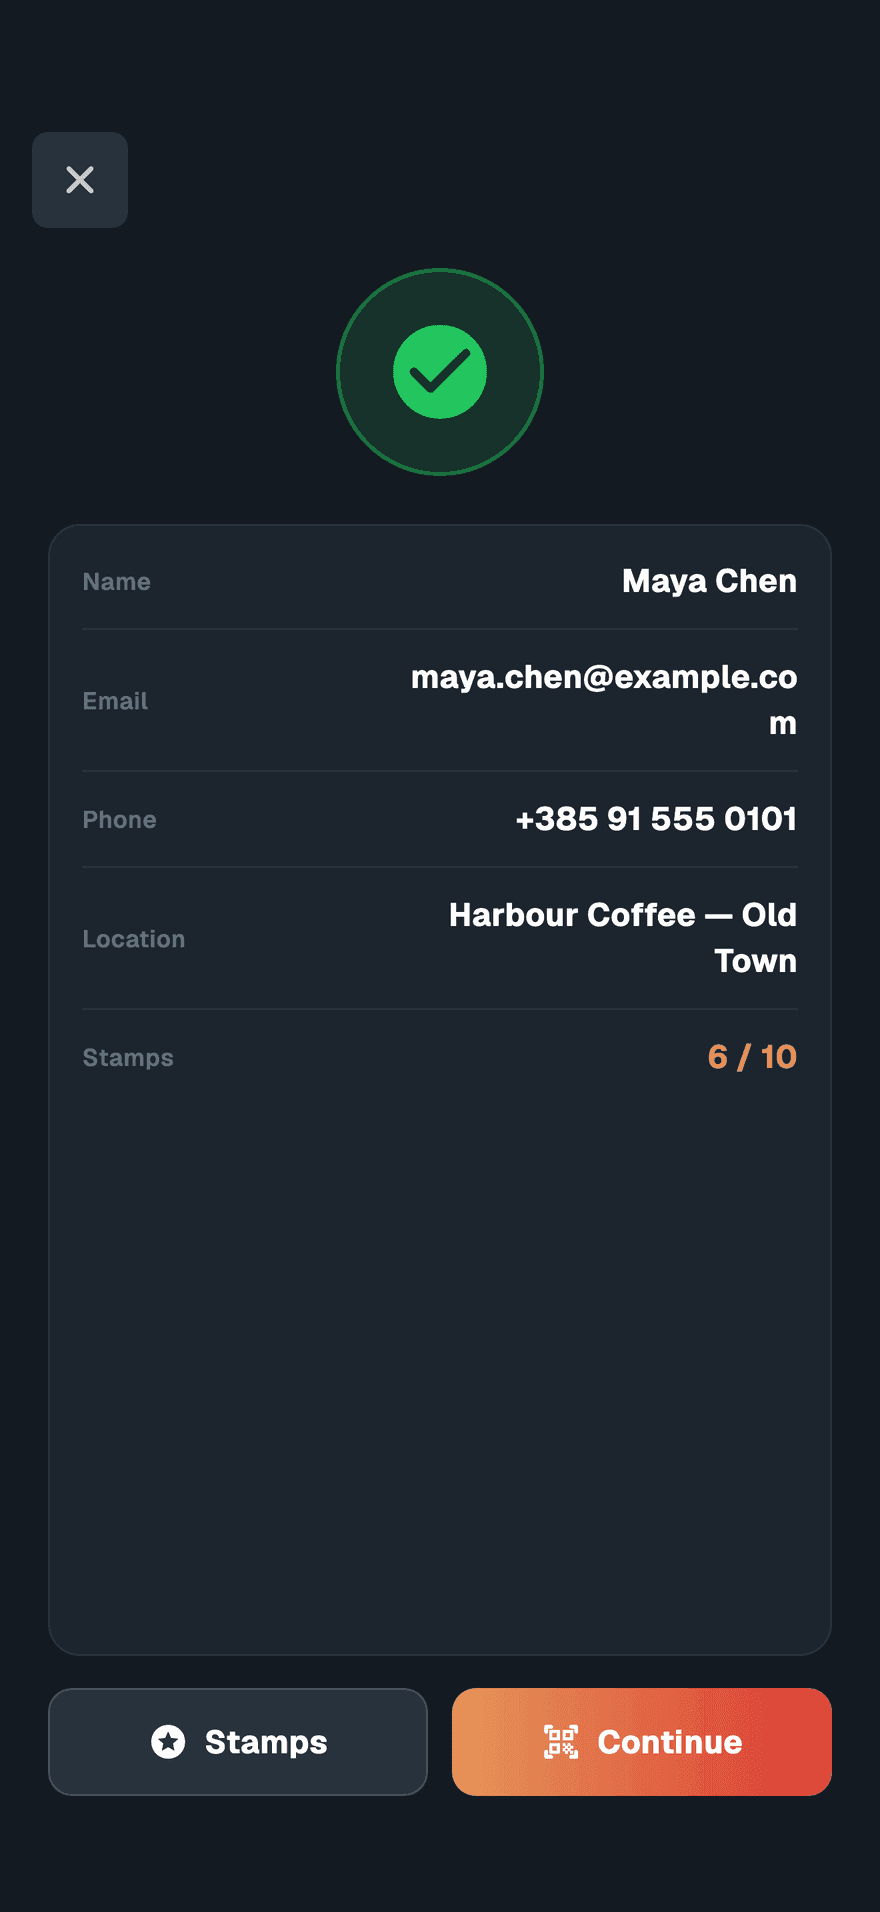
- Open the stamps
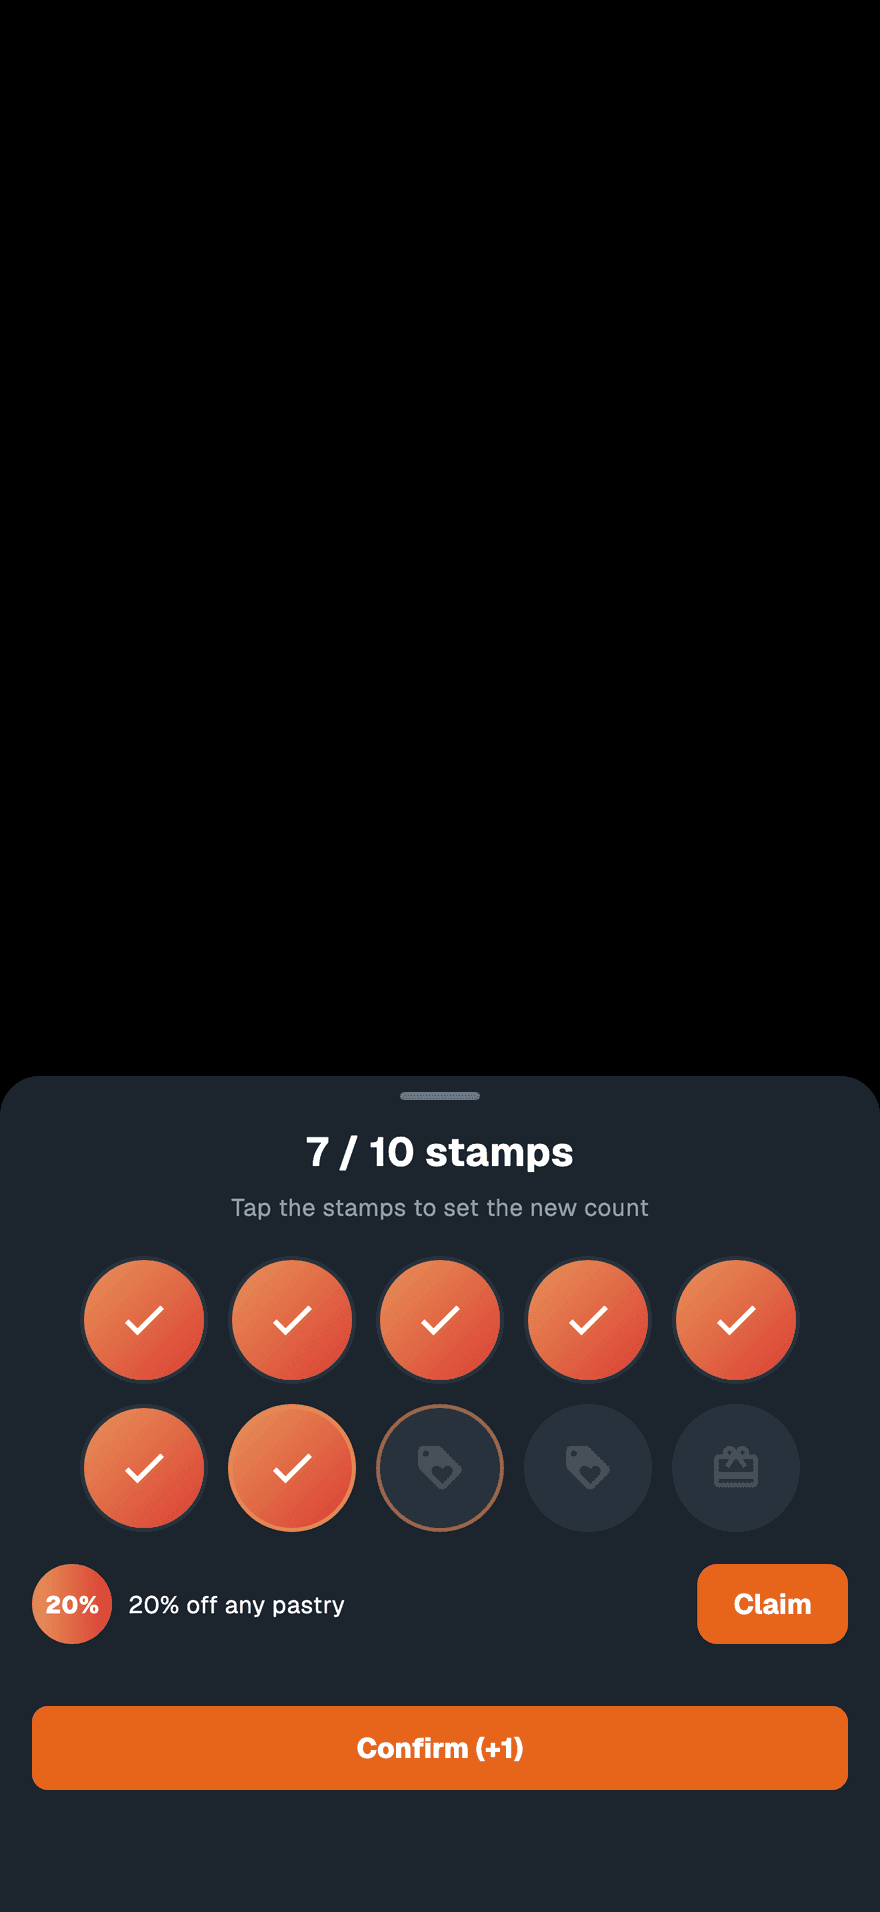
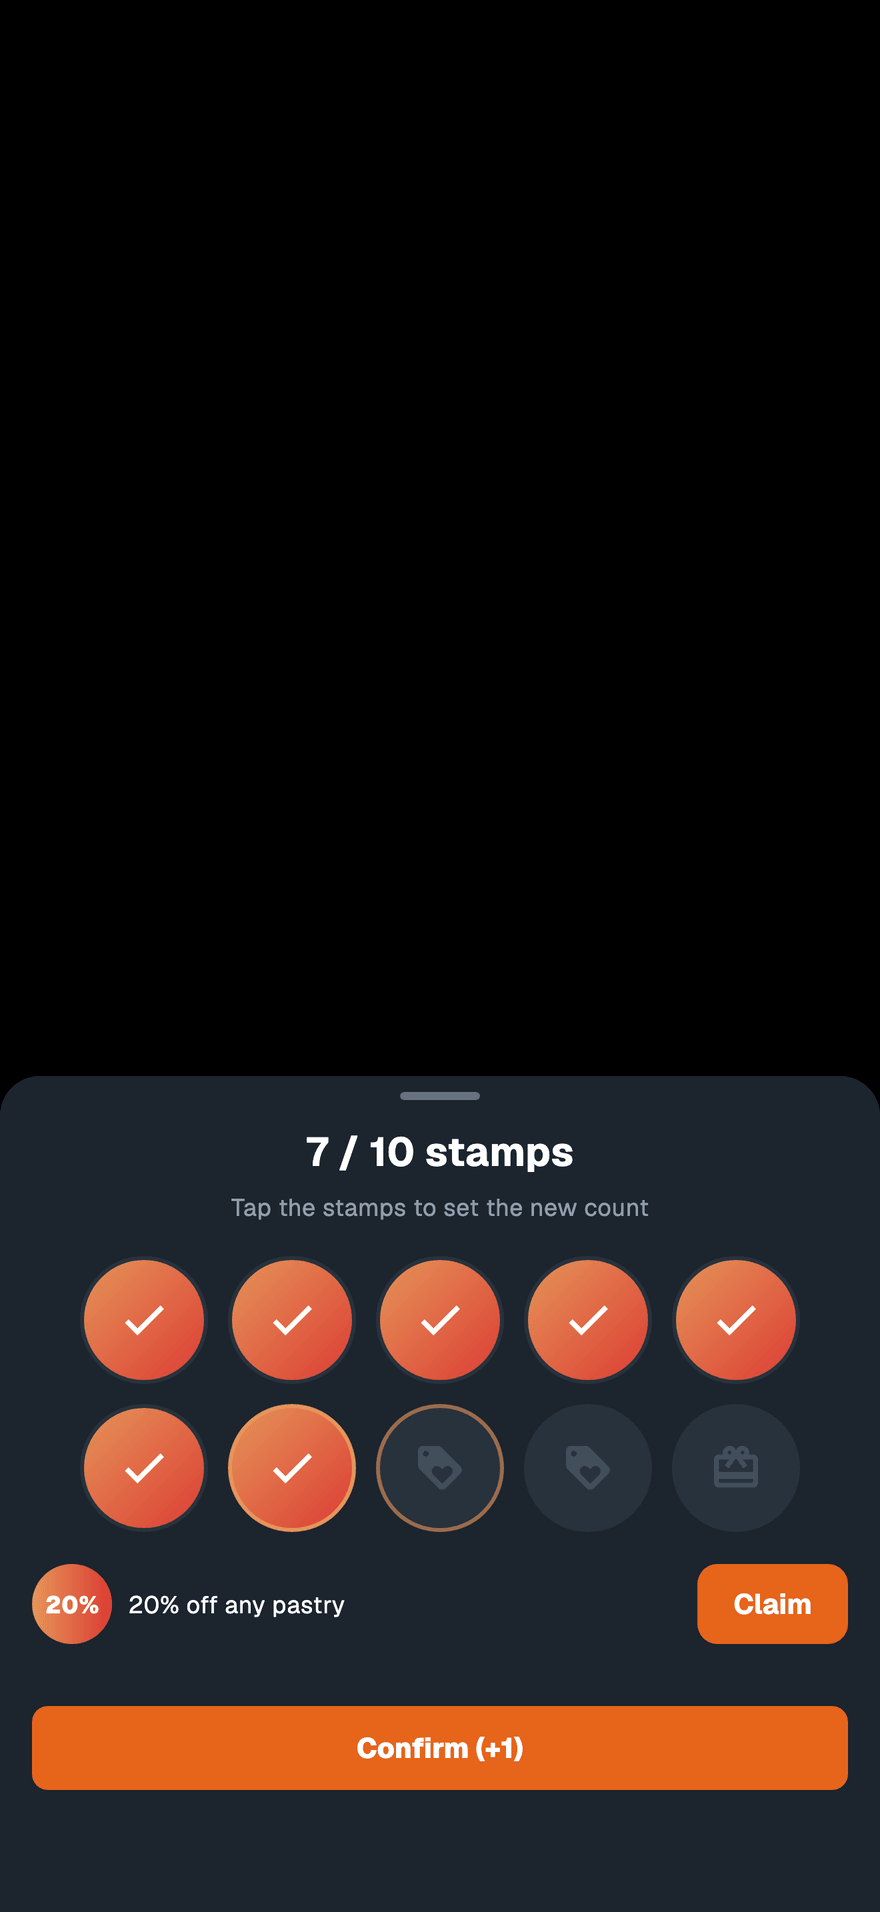
Tap Stamps. The sheet shows one tile per stamp on the card, with the collected ones filled in.
- Tap the new total
Tap the tile for the count the card should have. To add one stamp to a card at 6, tap the seventh tile. To add two, tap the eighth. The button below changes to Confirm (+1) or Confirm (+2).
- Confirm
Tap Confirm (+1). The stamp is saved and the sheet closes. Tap Continue to scan the next customer.
To give a new customer a head start, set Starting stamps or Starting points when you add them in the app. See add members in the app.
Add points#
- Scan the pass
Open the scanner and scan the customer's pass. The result screen shows their balance, for example Points
120. - Choose Add
Tap Points, then choose Add.
- Enter the points and confirm
Type the number of points and tap Confirm. Decimals are accepted. The points are saved and the sheet closes.
The same sheet has Subtract, to spend points, and Set to, to replace the balance with an exact figure. A subtraction never takes a balance below zero.
Hand over a reward#
A full stamp card#
When the card is full, the stamp sheet shows Reward unlocked! and a Redeem reward button.

Give the customer their reward, then tap Redeem reward. The card goes back to zero and the next card starts. Any milestones claimed on the old card become available again on the new one.
Redeem reward empties the card. Tap it when you hand the reward over, not before — a customer who changes their mind afterwards needs their stamps put back by hand.
A milestone#
If the card has milestones, such as 20% off at the fifth stamp, the stamp sheet lists them under the tiles. A milestone the customer has reached shows Claim; one they have not reached yet shows a lock.
Tap Claim when you hand that reward over. The milestone shows a tick and the stamp count stays the same, so the customer carries on towards the full card. A milestone can be claimed once per card.
Points#
Agree the reward with the customer, then open Points, choose Subtract and enter what the reward costs.
How double stamps are prevented#
- A scan never stamps. The count changes only when someone taps Confirm.
- One pass at a time. While a result is open, the camera ignores every other code. After you close it, the same pass is read again only once it has left the camera's view, so a card held in front of the phone is not scanned twice.
- One tap counts once. The confirm button locks while the change is saving.
- The app sends the total, not "+1". Confirming 7 stamps sets the card to 7. If a slow connection makes the request arrive twice, the card is still at 7.
Correct a mistake#
You can fix a count from the scanner, or without the customer present from the member's page.
- Open the member
Tap Members in the bottom bar and open the customer.
- Open their loyalty card's menu
On their loyalty card, tap the ⋮ menu, then Update stamps or Update points.
- Set the right count
For stamps, tap the tile for the correct total. A tile below the current count removes stamps, and the button reads Confirm (−1). To empty a card that has one stamp, tap the first tile again. For points, use Subtract or Set to.
- Confirm
Tap Confirm. The card in the customer's wallet updates a few moments later.
A reward redeemed by mistake. Open Update stamps and tap the tile for the count the card had before, then confirm. The card is restored, but loyalty analytics still counts the redemption, and milestones claimed before it are available to claim again.
If something goes wrong#
"Could not update stamps. Check your connection and try again." or "Could not update points. Check your connection and try again." The change was not saved and the card is as it was. Check the connection and confirm again. The stamp message also appears when a milestone has already been claimed on another device.
There is no Stamps or Points button on the result. The buttons appear only for a valid pass on the template the scanner is open on. If the result shows an error, deal with that first. If the pass belongs to another of your templates, switch the app to that template and scan again.
"Pass from another template". The phone is set to accept passes from some templates only. Change it under SettingsValidate passes from.
"Pass not found". The code is not a pass on your account, or the pass was deleted. Look the customer up under Members.
"Pass has been invalidated". The pass was switched off. To switch it back on, open the member in the app and choose Validate from the card's ⋮ menu, or use Activate in the dashboard — see manage members.
"This device isn’t activated". The phone is not one of your account's staff devices. See staff devices.