Connect an NFC reader
Plug a USB NFC reader into the desktop or mobile app to read passes and cards by tap, or give your account's NFC keys to a terminal you already own.
A desk reader turns a scan into a tap: the member holds their phone or card against it and the Walletap app shows the result. The same page covers handing your keys to a reader or terminal from another supplier.
Add-onSupported readers#
The Walletap app works with ACS WalletMate readers over USB:
| Reader | Notes |
|---|---|
| WalletMate (ACR1252U) | Reads Apple Wallet and Google Wallet passes and physical cards |
| WalletMate II (ACR1552U) | The same, plus Emulate: hand a member their pass link by holding their phone to the reader |
The desktop app runs them on Windows and macOS. The mobile app runs them on a phone or tablet with the reader attached. On Windows, WalletMate II needs ACS's own ACR1552U driver; with only the generic ACS driver installed, the reader shows up but cannot read wallet passes.
Before you start#
- To tap wallet passes, the template is NFC-enabled. See NFC passes. Physical cards work with any template.
- The desktop app or mobile app is installed and signed in.
The app loads your account's NFC keys into the reader itself when it connects. There is nothing to copy by hand.
Connect a reader to the desktop app#
- Plug it in
Connect the reader to a USB port. The app looks for readers on its own and connects to the first one it finds, showing Reader Connected.
- Check the selection
Go to SettingsCard Reader. The list shows every reader the computer can see; the one in use is selected, its name in bold. A WalletMate II appears more than once — pick the contactless entry, labelled PICC.
- Choose which passes it accepts
Set Validate passes from to every template, the selected templates, or all templates of the same type. A pass from any other template is refused with Pass from another template.
- Order the templates for Apple Wallet
Open Pass type priority and drag the templates into order. A WalletMate listens for two Apple Wallet templates at a time — the top two. Google Wallet passes are read from every template in the list.
- Test it
Tap a pass, for example Maya Chen's Coffee Card. The result opens on screen with the member's details, or the reason it was refused.
Two more switches in the same section are worth setting at a desk: Beep for invalid passes, for a long beep and red light on a refusal, and Automatic employee check-in/check-out, which clocks staff in and out when they scan their own staff pass.
On Windows, turn on Prevent USB devices from sleeping and Prevent system sleep under Power Management, so the reader is still awake for the first member of the morning.
Connect a reader to the mobile app#
- Open the reader settings
In the app, go to SettingsRedemption methodsCard Reader. The row appears where your plan includes NFC tap-to-redeem.
- Attach the reader
Plug the reader into the phone or tablet. The screen changes from Not connected to Connected.
- Order the templates
Under Reader pass order, drag the templates into order. Apple Wallet uses the top two.
With a reader attached, the mobile app can also read a physical card when you add a member.
Share a pass by tap#
With a WalletMate II connected, a member's pass has an extra Emulate action in the desktop app's member screen. Choose it and the reader becomes an NFC tag that carries the pass link: the member holds their phone to it and opens the link to add the pass. The app says Pass link shared successfully! when it has been read.
NFC reader settings in the dashboard#
SettingsNFC readers in the browser sets up a VTAP reader over USB and lists the keys any other certified terminal needs. It has two tabs.
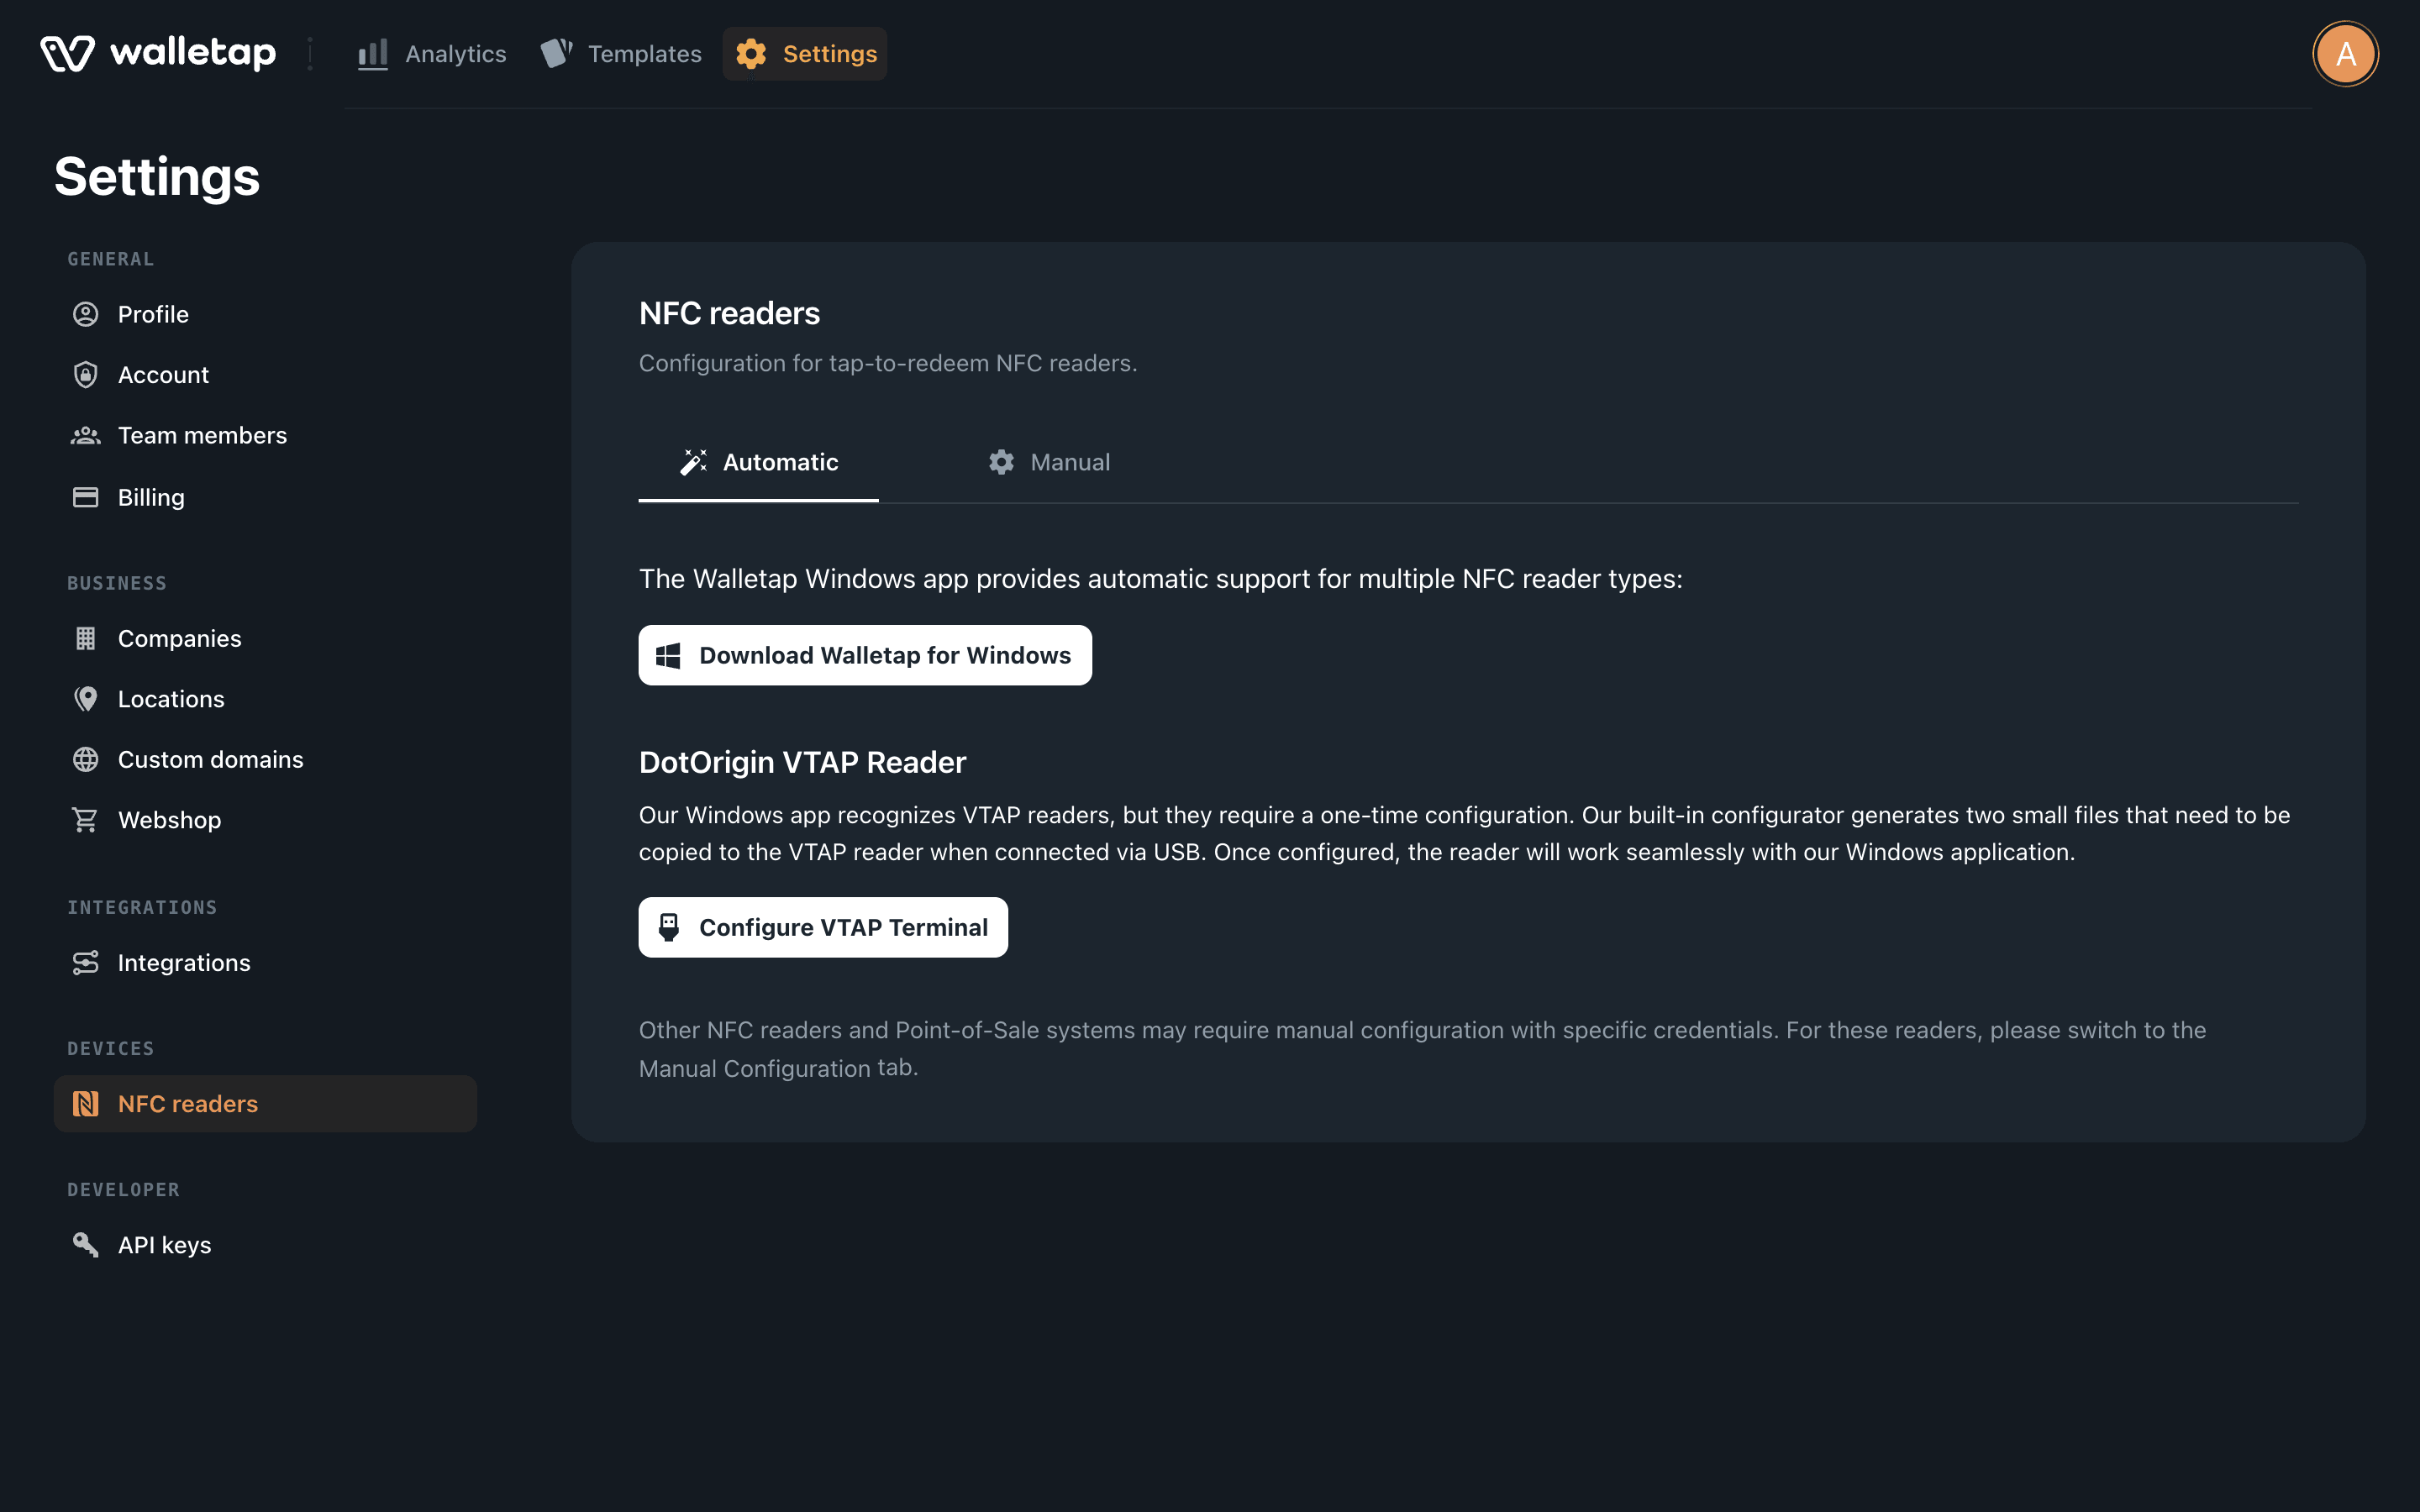
Configure a VTAP reader over USB#
A Dot Origin VTAP reader is configured with two files copied onto it.
- Open the configurator
On the Automatic tab, click Configure VTAP Terminal.
- Choose the templates and behaviour
Under Pass Templates (up to 6), pick the templates the reader should read. Choose which card types it reads, whether it types each pass into the computer (Keyboard emulation) or appears as a serial port (Virtual COM), and set the beeps and LED colours. Click Next.
- Download the files
Download
config.txtandprivate1.pem. Do not rename them. - Copy them to the reader
Connect the reader by USB, copy both files onto the drive it shows, then click Finish. If you turned Virtual COM on or off, unplug the reader and plug it back in.
The reader loads the key into its secure element at start-up and deletes the file from its drive.
Give your keys to another terminal#
The Manual tab lists what any VAS and Smart Tap certified terminal needs to read your passes. Enter them into the terminal as its supplier describes.
| Field | Used by | What it is |
|---|---|---|
| Private Key (HEX or PEM) | Apple Wallet and Google Wallet | Your account's NFC private key |
| Collector ID | Google Wallet | Identifies your account to Smart Tap |
| Key Version | Google Wallet | Which key the collector ID refers to |
| Generated Merchant ID | Apple Wallet | One per template: choose it under Select Pass Template |
The private key is what lets a reader read your passes. Give it only to terminals you control, and copy it straight from this page into the terminal.
If something goes wrong#
"Reader Not Connected" or "No readers found". Check the USB cable and port, then wait a few seconds: the app keeps looking for readers and reconnects on its own.
Physical cards read, wallet passes do not. The template is not NFC-enabled, or — for Apple Wallet — it is not in the top two of Pass type priority. On Windows with a WalletMate II, install the ACR1552U driver from ACS.
"Pass from another template". Change Validate passes from, or select the template in the app.
"Connection error — please try again". The app could not reach Walletap to look the pass up. Nothing was decided; tap again once the connection is back.
"You need to activate NFC to configure VTAP terminals". Your account has no NFC keys yet. They are created with your Google Wallet issuer account, which is set up when you create your first template.