Design a pass with AI
Generate a complete pass design from your website, review it on both wallets, and create the template only when you are happy with it.
The AI designer reads your business's public website and designs the whole pass for you: colours, logo, banner, the fields on the front and your details on the back. You see the result before anything is created, and everything it chose stays editable in the designer.
Every planBefore you start#
- Have your website's address ready — for example
harbour.example. - Your plan needs an AI design left in its allowance, and room for another template. See If something goes wrong for what happens when either runs out.
- A team member needs permission to create templates.
What it reads and what it makes#
The designer reads your public page and looks at a picture of it, the way a visitor would. From that it chooses:
- a template name, which becomes the pass title;
- the background, label and text colours, with text that stays readable on the background;
- your logo and icon, and a banner from your site's photos — or, on a stamp card, a stamp that suits your trade;
- the headline and the fields on the front;
- the back of the pass: website, phone number, address and opening hours, where it can find them.
It also writes a sentence or two explaining its choices, shown under the preview. The pass is written in the language your dashboard or app is set to.
The template type and the options — redemption, pass access and pass sharing — are always yours. The designer never changes them.
Design a pass on the web#
- Start the AI path
Go to Templates, click Create and choose Create with AI.
- Answer About this pass
Choose the Template type, then Redemption, Pass access and Pass sharing, and click Continue. Create a template explains each option.
- Enter your website
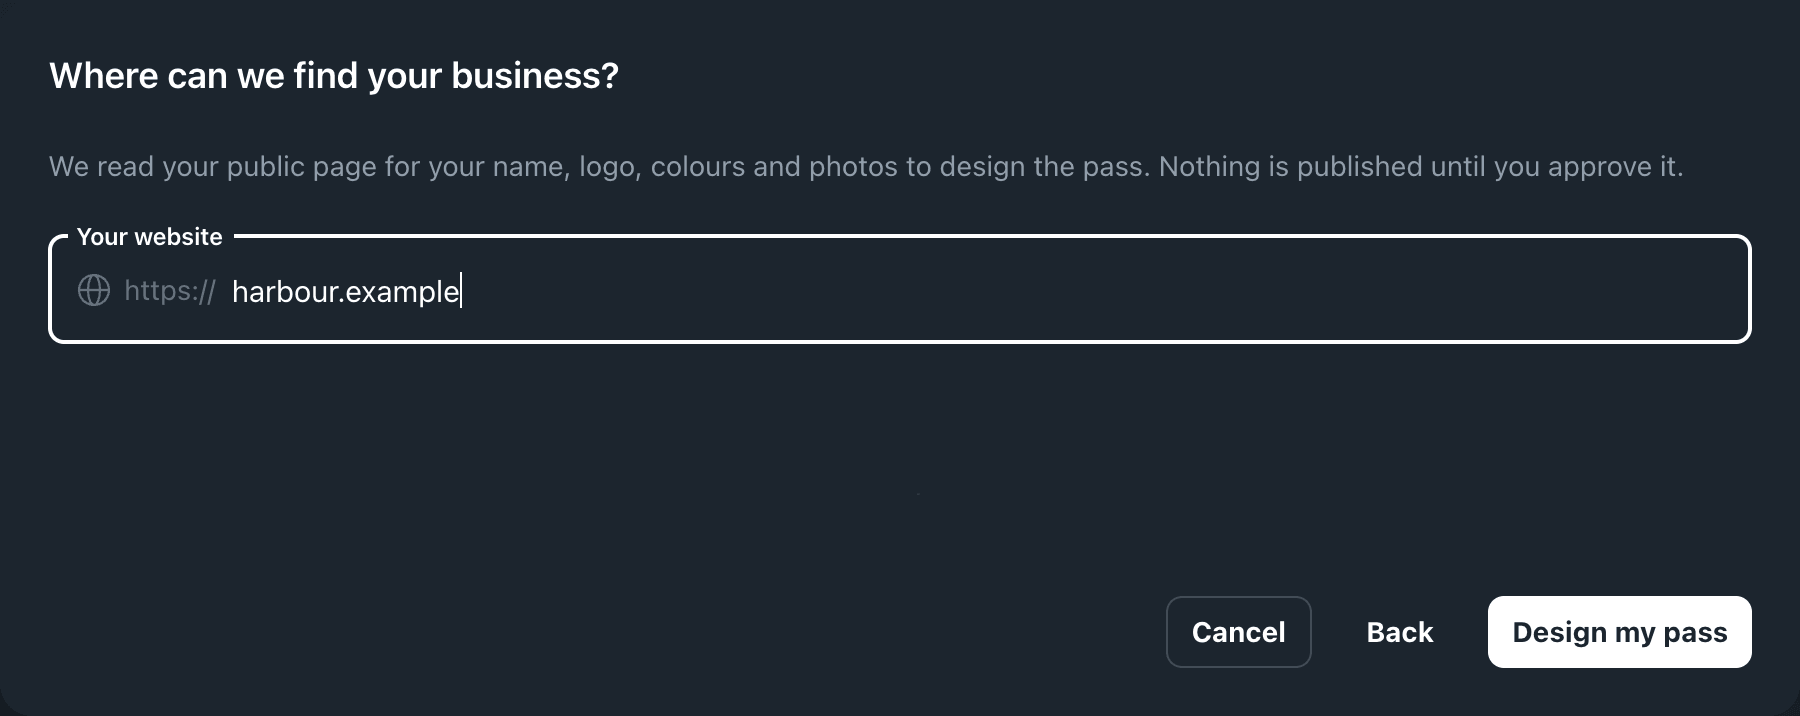
Under Where can we find your business?, type your address into Your website —
https://is added for you — and click Design my pass. - Wait for the design
Designing your pass shows what the designer is doing — reading your website, choosing colours and layout, preparing your images. Cancel stops it.
- Review it
The preview shows the design with its name as the heading. Switch between Apple and Google to see both wallets. See Review the design.
- Use it or discard it
Click Use this design to create the template; it opens in the designer. Click Discard to throw it away — nothing is created.
On the web, the generated design decides whether a Loyalty card collects stamps. To change it afterwards, use the Use stamp collection instead of banner image switch in the designer's Stamps section.
Review the design#
Look at the preview the way a customer would:
- The logo reads on the background. If your logo came on a coloured plate, check it in Artwork and colours.
- The headline is the thing a holder looks for — their name, their balance, the offer. See Fields.
- The details on the back are right. The designer only uses what it can read on your page; correct anything out of date in the Back section.
- Both Apple designs look right. Apple Wallet on iOS 27 can show the pass as a poster; older iPhones show the classic card. After creating the template, switch the designer's preview between Poster and Classic. A template designed on the web starts with Walletap's stock poster artwork, so add your own Artwork Image in Images, or choose Classic.
To show the pass on customers' lock screens near your shop, add the place in the designer's Locations section — see Locations and lock-screen relevance.
Design a pass in the mobile app#
The mobile app designs Loyalty templates. The AI designer is offered on the second step of creating a template, after you have chosen Points, Stamps or Both — the design follows that choice.
- Choose Design with AI
On How should it look?, tap Design with AI.
- Enter your website
Type your address into Your website and tap Design my pass.
- Review it
Here is your pass shows the design. Switch between Apple and Google, and on Apple between Poster and Classic.
- Use it
Tap Use this design. You return to the design step with the AI's choices filled in, ready to adjust, and continue through the remaining steps. Design it myself instead drops the design and opens the manual designer.
In the app, an address the designer found is filled into the Location step with the lock-screen option ticked. Check it before you continue.
Allowance#
Each design that is generated counts once against your plan's AI design allowance — whether you then use it or discard it. A run that fails is not counted. On a paid plan the allowance refills each month. When it is used up, the Create with AI card says Your AI designs are used up. and you can still design the pass yourself. Plan allowances are on the price list.
If something goes wrong#
"That does not look like a website address." — the address needs a domain, such as
harbour.example.
"We couldn't read that website (…). Check the address, or design the pass manually." — the site did not answer, or refused the request. Check the address opens in a browser, or choose Design it myself.
"The connection dropped before the design finished." or "We could not reach the design service." — the design was interrupted and was not counted. Click Try again.
"Too many generations in the last hour. Try again later." — a limit on how often the designer runs, separate from your allowance. Wait and try again.
"Your plan includes one AI design and you have used it.", "Your plan includes … AI designs and you have used them." or "You have used all … AI designs a month included with your plan." — the allowance is spent. Click Design it myself, or Upgrade where it is offered.
"Your plan includes … card designs, and you are already using …" — the account has no room for another template. Upgrade, or delete a template you no longer use.
"Something went wrong generating the design. Please try again. (ref: …)" — click Try again. If it keeps happening, send the text in brackets to support.
Design it myself brings you back to the create dialog with your answers filled in, so you do not start again.