Import and export members
Issue passes to a whole customer list from a CSV or Excel file, and download a template's passes as CSV.
Import turns a spreadsheet of customers into members and passes in one go — the usual way to move an existing loyalty or membership list into Walletap. Export gives you every pass on a template as a CSV file.
Every planBefore you start#
- Decide whether the people on the list should get an email or text message now. The import sends to every row with contact details unless you switch it off.
- On a plan with a pass allowance, the import dialog tells you how many passes you have left. Import is locked when none are left.
- Exporting needs permission to export members. See Team members.
Prepare the file#
The file can be a CSV (.csv or .txt) or an Excel workbook (.xlsx or
.xls), up to 25 MB. Put column names in the first row and one person per row
after it.
For an Excel workbook, the first sheet that has data is imported. Put all your rows on one sheet — other sheets are skipped, and the dialog says which.
Every column is optional. During the import you match your columns to these target fields:
| Target field | What it fills |
|---|---|
| Member · Name | The member's name. |
| Member · E-mail | Their email address. Used to find an existing member and to send the pass. |
| Member · Phone number | Their phone number. Use international format, such as +385 91 555 0101, or set Country code for local numbers. |
| Member · field | One target for each other field on the template's sign-up form. |
| Pass · Barcode / NFC value | What the pass's barcode holds. Leave empty to use the pass's own ID. |
| Pass · field | One target for each per-pass field on the template's design. |
The Member · fields describe the person in Walletap; the Pass · fields are what the card shows. To print the holder's name on the card, give the file a second name column and match it to the pass's own name field.
A file for the Coffee Card might look like this:
name,email,phone
Maya Chen,maya.chen@example.com,+385915550101
Luka Horvat,luka.horvat@example.com,+385915550102
Emma Novak,,+385915550105
Import the file#
- Open the import dialog
Go to TemplatesCoffee CardMembers and click Import. The Import from file dialog opens.
- Set delivery first
The delivery settings sit below the file area. Set them before you import:
- Message Language — the language of the email or text message.
- Send to Email — sends each pass to the row's email address. On by default.
- Send to Phone — sends each pass by text message to the row's number. Needs text messaging on your plan.
- Country code — the country used for phone numbers written without one.
- Choose the file
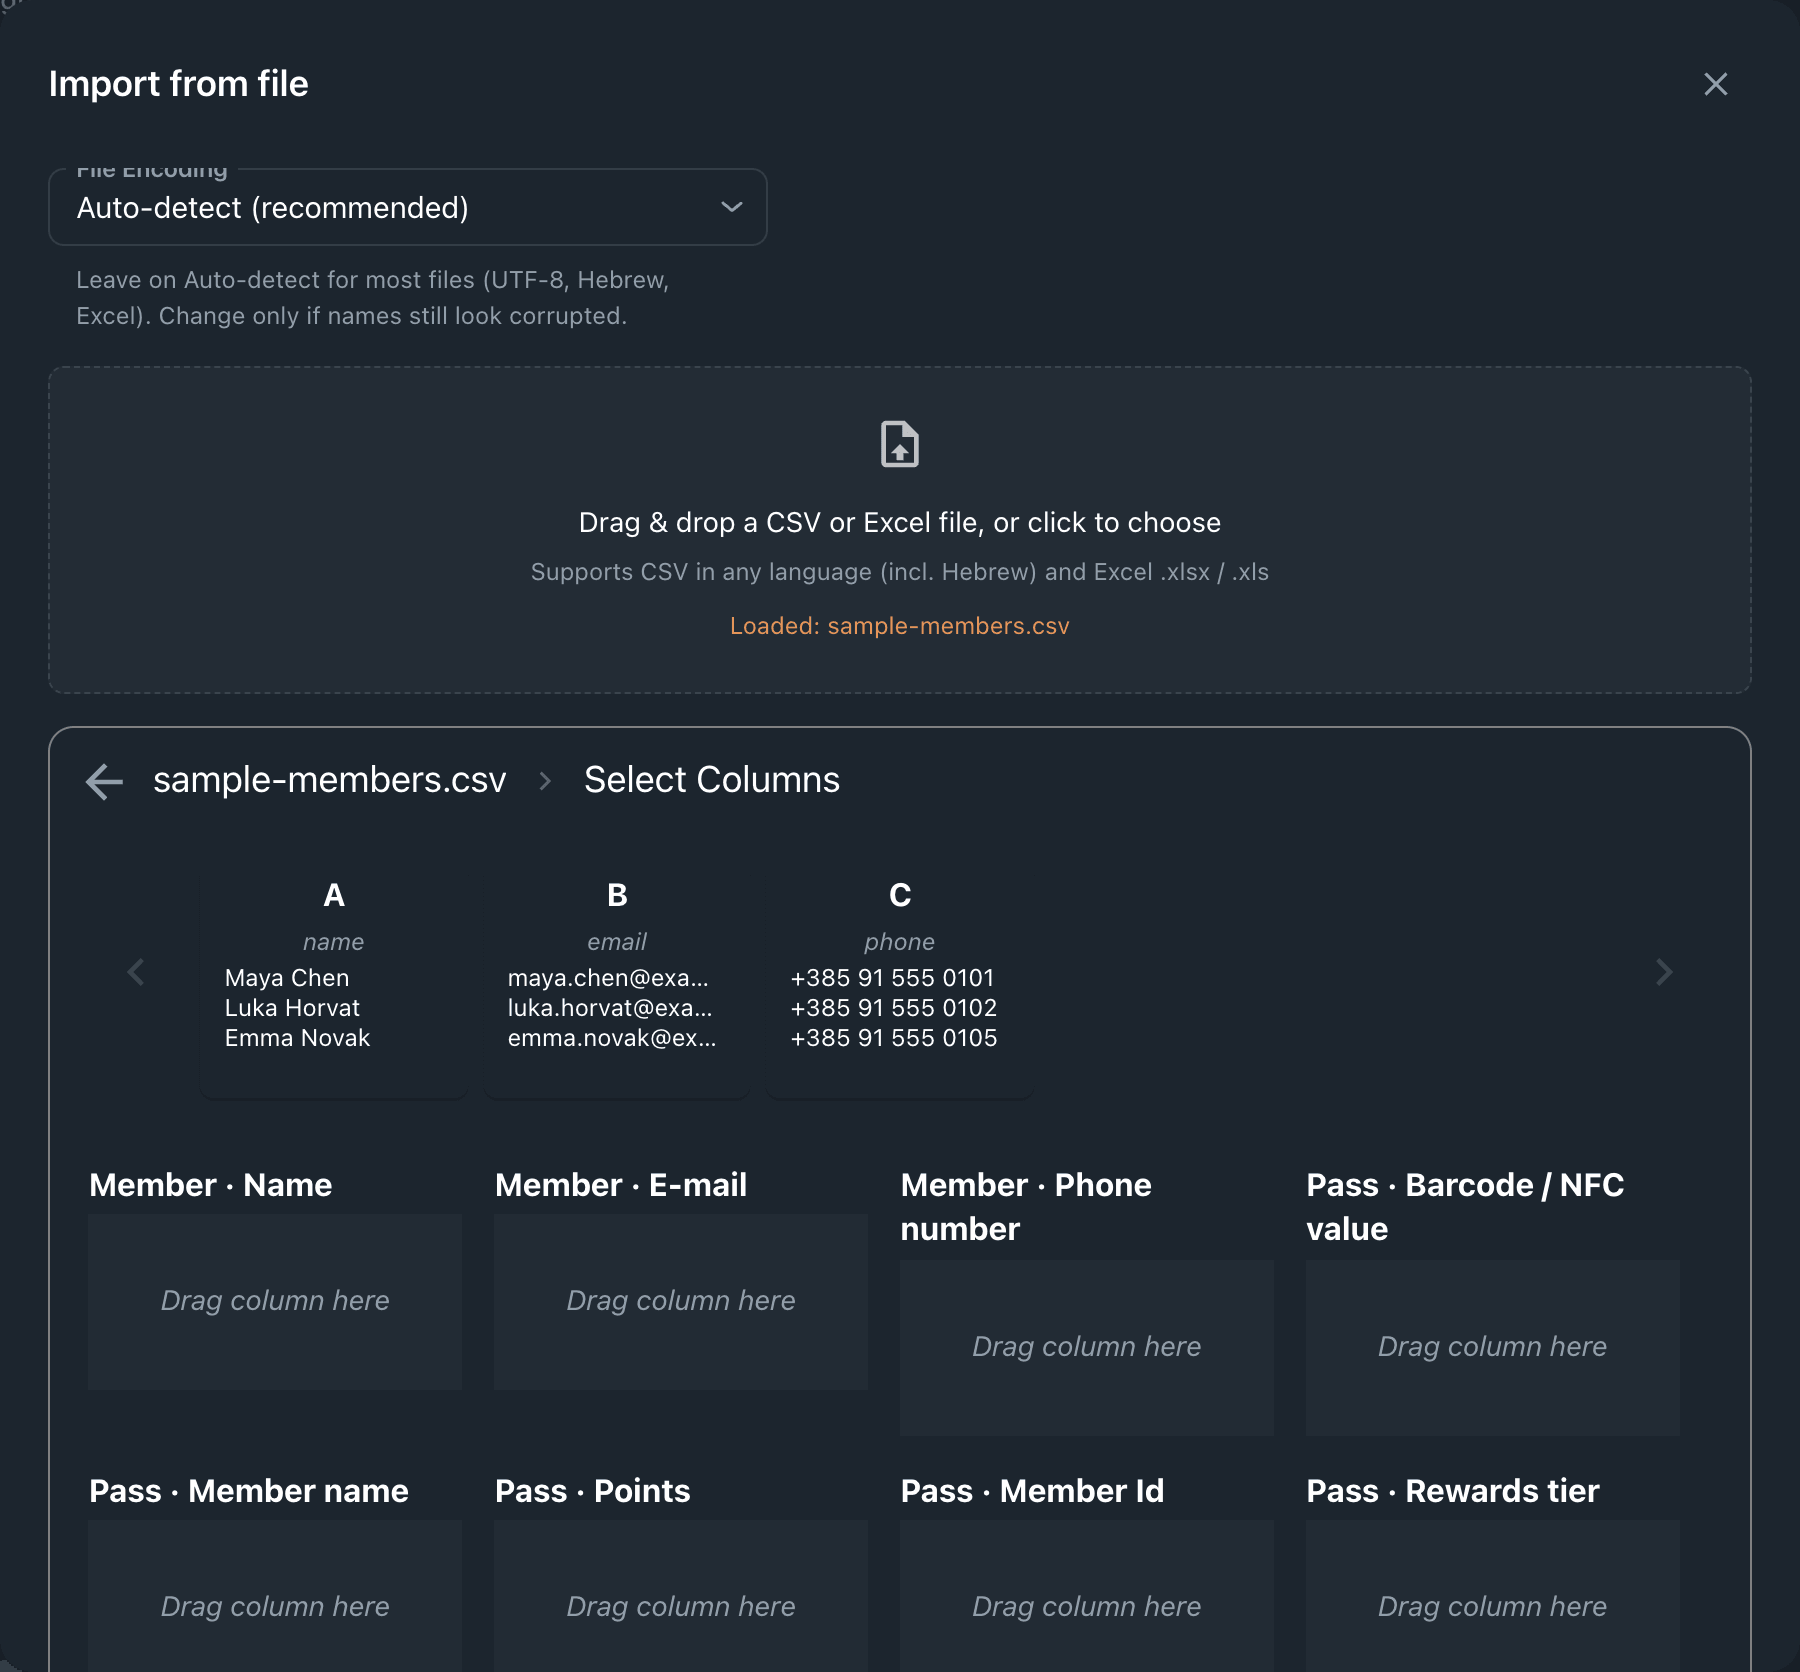
Drag the file onto Drag & drop a CSV or Excel file, or click to choose, or click it to pick one. A preview of the first rows appears. Keep Data has headers ticked if the first row holds column names, then click Choose columns.
- Match the columns
Drag each of your columns onto the target field it fills. A column left unassigned is not imported.
- Import
Click Import. Rows are processed one by one; keep the dialog open until the progress shows Complete. A summary then appears in the dialog. Close it and reload the Members tab to see the new members.
Send to Email starts switched on. If you are moving existing customers and do not want to email them all at once, switch it off before you click Import.
How rows become members and passes#
- Each row issues a new pass. Importing the same file twice gives everyone a second pass.
- A row with an email or phone becomes a member. If a member on this template already has that email — or, when the row has no email, that phone number — the pass goes to them instead of a new member.
- A row with neither issues a pass with no member. It appears on the Members tab as a single pass.
- An email has to look like one (
name@domain); anything else is ignored. - A phone number that cannot be read is left empty, and the summary counts it.
- When your plan's allowance runs out part-way, the remaining rows are not imported, and the summary says how many.
Read the summary#
The summary starts with "Imported X of Y row(s)." and adds a sentence for each thing worth knowing:
| The summary says | Means |
|---|---|
| "N new member(s) created." | Rows that became new members. |
| "N member(s) matched." | Rows whose email or phone matched an existing member; they got a new pass. |
| "N phone number(s) couldn't be read and were left empty…" | Those rows' passes were issued without a phone. Add the number to each member with Edit — see Manage members. |
| "N row(s) failed to send." | No pass was issued for those rows. Import them again. |
| "N row(s) not imported." | Your plan's pass allowance was reached. Upgrade appears next to it. |
Export members#
- Open the Members tab
Go to TemplatesCoffee CardMembers.
- Export
Click Export. A file named
passes-all-followed by today's date downloads.
The file has one row per pass on the template, newest first, including invalid passes. A member with two passes has two rows.
Its columns, in order:
| Column | Contents |
|---|---|
name | The holder's name, as it appears on the pass. |
email, phone | The contact details the pass was issued to. |
redemptionValue | What the pass's barcode holds. |
| One per pass field | Each per-pass field on the design, by its field ID. |
The column names are field IDs rather than labels. To import an exported file into another template, match the columns by dragging, as above.
If something goes wrong#
"That file is too large. Please upload a file under 25 MB." Split the list into several files.
"Unsupported file type. Please upload a CSV or Excel (.xlsx / .xls) file." Save the file as CSV or Excel and try again.
"Could not read this file. Make sure it is a CSV or Excel (.xlsx / .xls) file." The file is damaged or is not really a spreadsheet. Open it in a spreadsheet app and save it again as CSV.
Names show odd characters. Change File Encoding at the top of the dialog from Auto-detect (recommended) to the encoding the file was saved in, such as Windows-1250 (Central European).
"Export failed", with a number. Your team role may not include exporting members. Ask the account owner.